The Importance of Proper Gait
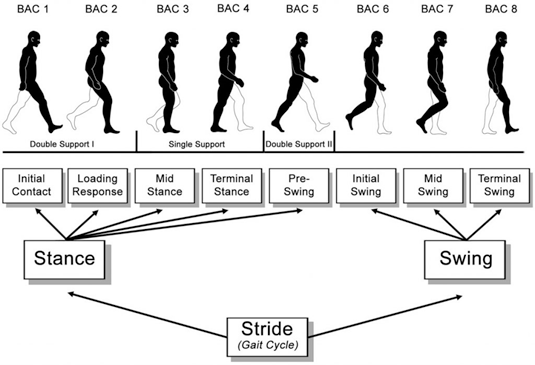
Walking properly can save a lot of extra stress on all your joints, especially ankles, knees and hips, but even into your back. How is this possible? Well, the whole body is one big chain. If one part of the chain is the “weak link” then the rest of the chain becomes unstable. If we take small, short and “shuffling” steps, we lose balance, we do not walk upright. These can all lead to muscular imbalances, back pain, bad posture and pain in knees, hips and ankles. Walking “right” is something we lose overtime for many of reasons. One way to help with this is a simple exercise consisting of three simple walking patterns. The idea of these patterns is to reintroduce the proper mechanics during “Gait”. The following exercise is simple to complete in your home holding onto a counter, couch, down a hallway that you can reach out to the walls or even with a walker or cane. Time for two minutes for each pattern or do laps down the hall.
The Exercise: “Gait School”
Pattern #1: “Chicken Scratch”
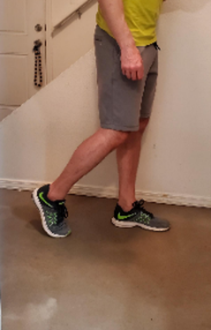
Step forward with one foot. Your back foot will roll onto your toes (Picture 1). Before you step forward, scratch your toes off the floor like a chicken scratching the ground (Picture 2). After scratching, step forward with that foot so now that foot is in front (Picture 3). Repeat with your other foot that is now in back. This helps with the “Loading Response”, “Mid Stance” and “Terminal Stance” phases of Gait.


Pattern #2: “Bridal Walk”
Step forward with one foot. Your back foot will come forward but will STOP next to your other foot IN THE AIR (Picture 1). After a short pause, continue forward with the foot that is in the air like a normal step forward (Picture 2). This helps with the “Loading Response”, “Mid Swing” and “Terminal Swing” phases of Gait.


Pattern #3: “Snow Shoe”
Step forward with one foot. As the back foot comes forward, bring that foot into a march as high as you can (Picture 1). Before the foot that is in the air hits the floor, make sure the leg is as straight as you can with your toes pulled up (Picture 2). Finally, when that foot hits the floor, make sure the heel hits first (Picture 3). Then flatten your foot and repeat with back leg. This helps with the “Initial Contact”, “Loading Response” and “Terminal Swing” phases of Gait.


